Trail Cameras: Maximize Success with a Plan of Attack!
Trail Cameras: Maximize Success with a Plan of Attack
Trail cameras have come a long way since the early 1980s when a group of students from Missouri State University looked for ways to study whitetail deer behavior for an assignment to complete their Masters. Since then we have gone from monstrous boxes that literally held a 35 mm camera to all digital that can nearly fit in the palm of your hand. Gone are the days of blinding flashes like lightning to now the days of infrared and “no flash” sequences. Like most technology, trail cameras have advanced at an overwhelming rate. Nowadays, crystal clear photos, video, sound, and even cellular reception are the norm and not the exception.
What is unchanging however, are try and true methods, tips and tricks to utilize these advancements in hunting. It’s one thing to go out and slap a camera on a tree and hope to get a photo of a buck. It’s another thing entirely to use wisdom and strategy while applying trail camera information into your hunting toolbox. The following ideas are generally agreeable upon as some strategic trail camera tips and tactics:
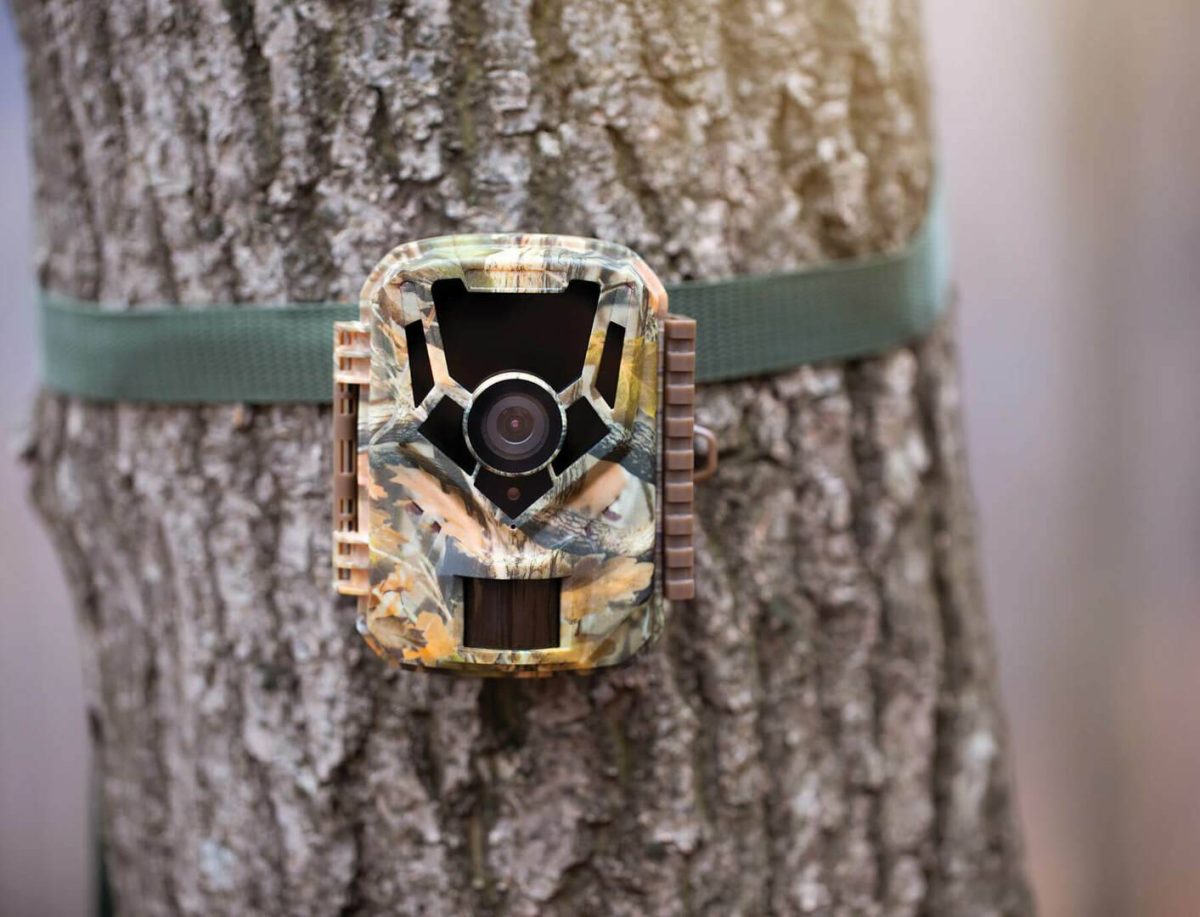
1. Know Your Equipment
A game camera is like anything else in your hunting arsenal. It is a piece of equipment that can greatly enhance your hunting experience. Take time to understand the features of a particular trail camera that you intend to use and then USE those features. It’s totally ok to put batteries and a camera card into the machine, switch it to on, and hope for the best.
However, it is so beneficial to include things into your photo information like dates, times, moon phases, etc. If your camera offers any of these “perks” then take time to set them up. Also, some digital cameras require that you format whatever camera card you intend to use. Taking 5 minutes to read over the setup instructions of a particular camera can save you weeks of headaches. Don’t rush to the field, set up a camera, leave it for a month, and come back only to realize you didn’t set it up properly.
There is nothing more frustrating than getting to the field with a camera and realizing that you either don’t have batteries, don’t have enough batteries, or don’t have the correct size of batteries for your camera. Consider going to a big box store and purchasing your batteries ahead of time and keeping them fresh in the camera. When the temperatures are warmer then you will likely get WAY more shots out of a set of batteries than in the cold of winter. Sometimes, cameras will lose photo quality when their batteries get below a certain percentage. Keeping tabs on which cameras do what helps keep you in the photo game. Don’t blow your shot at capturing great pictures because you skimped on batteries for the camera. After all, a camera is only as good as what powers it.
2. Organization
Most folks treat trail cameras like Lay’s potato chips: you can’t have just one! Multiple camera sets on the same or multiple farms is not uncommon. It’s also not uncommon to forget which camera came off of which farm, which camera was working properly and which was malfunctioning, and which camera was stolen by a raccoon. Labeling or numbering these cameras is a quick and easy way to keep track with some of these minor details that could turn into problems down the road.
The same goes for camera cards. I have a library of SD cards that used to travel back and forth in my pocket when going to check cameras. On more than one occasion I have taken a full card from a camera that had already gotten a looking over and a new card into a new camera. I was able to realize when I got home and checked the cards on the computer and found that I had several blanks. Numbering or labeling cards, along with taking a case of some sort to organize the cards, is an inexpensive way to keep track and be sure that you are on top of your trail camera game. Every time that we enter into the deer’s territory we are intruding. So, we need to make the most of every trip and not waste our effort by making easily corrected mistakes.
Speaking of organizing: go ahead and make folders on your storage device labeling information that you find pertinent. If you’re intent on hunting a particular buck from year to year it is always nice to be able to go back to a nicely organized file and find a photo of a buck from time past. Information from last year can help put together a plan of attack for this year for bagging your trophy.
3. Location, Location, Location
You’ve done your due diligence and taken the steps to set-up your cameras and organize things. Now, let’s hit the woods. Well, not so fast. As many have stated before, you should use maps or prior knowledge to plan where you want to begin your trail camera survey. I would never recommend traipsing into the field and just “winging” it. Having a strategy as to where you’d like to survey the deer will save you from any unnecessary intrusion into the deer’s bedroom. After determining the general area for scouting then you can make plans to put boots on the ground and deliver your camera to its area. Some suggestions for places to consider when placing trail cameras for deer photos are: Water, Feed, Trails, and Scrapes.
Watering holes, natural or unnatural feeding areas (assuming it is a time of the year where supplemental feeding is allowed) and heavily used trails are pretty standard locations to try and place a trail camera. Deer have to eat and drink and usually they’ll take a fairly easily identifiable trail to get to that location.
If planning to hang a camera on a trail then there are two specific recommendations:
1. Place the camera facing up/down the trail. While walking a deer path the animal has very little reason to stop for pause in front of your camera assuming there is nothing there to encourage stoppage. Shoot the camera up or down the trail to allow a deer more time to be in the path of the camera. This way, not only will you get a photo of a potential deer but you are likely to get multiple photos. Not to mention if a buck is following a doe then you will likely miss seeing the buck all together if this advice is not followed.
2. Aim the camera to face north or south. There’s nothing worse than having 500 photos of a rising or setting sun in the wind due to the camera heating up while facing the east or west. On the occasion that a deer does step in front of an east/west facing camera the likelihood that the photo will be under or overexposed due to poor lighting will be significant. Make every attempt to place the camera in a north or south facing position to avoid the sun conflict. This goes for any set and not just for trail sets.
One aspect of trail camera strategy that I’d like to spend some ink on is utilizing scrapes. More specifically, mock scrapes are a wonderful tool when running trail cameras.
Whop was a giant eight point buck that I had my eyes on. He used an ag field with some regularity, but he seemed to come out from a different area every evening. I would watch from more than a quarter of a mile away as the deer was entering the field late into the September evenings and then I’d leave after dark so the deer could not detect me. Knowing that the deer was bedding relatively near the field, so I didn’t want to blow him out of the area so close to hunting season. I did however desperately want trail camera photos to document this beast.
Trying something that I had never done and that was to create a mock scrape on the fringes of the field where I knew that I wouldn’t spook him in daylight hours. I did this with a simple garden rake. I looked for an overhanging branch on the field edge and scratched the dirt making it appear very fresh. To give the space more realism I added some deer scent to the dirt and mixed it in. A trail camera was set up nearby pointing in the direction of the scrape. Voila: the first time I went in to check the camera I had photos of multiple bucks including Whop.
The great thing about the mock scrape was that you can utilize it continually throughout archery season. Even into December I had deer constantly stopping by to check the scrape. After the first time or two in I didn’t have to freshen it up anymore because deer took over. Mock scrapes work!
4. Pattern the Deer, Not the Other Way Around
A couple of vices that I deal with are impatience and indecisiveness when it comes to deer hunting. I’ve spent many days hanging from a treestand wondering if I should be in another set. Many nights have been sleepless wondering if a particular buck that I am after could have possibly walked in front of my trail camera. This is life!
Trail cameras can be a major blessing but can also be counterproductive if not used properly. One of the most counterintuitive things we can do whilst utilizing trail cameras is become impatient and check them too often. Curiosity can be a killer and make us make unwise decisions. My advice is to check your trail cameras using the same methods that you use while hunting. Observe meticulous scent control. Don’t burn out an area. Utilize appropriate wind and use the rain to your advantage when it comes to dampening scent and sounds.
If one is to trail into a deer’s home area too often then he stands the chance of spooking the deer. While many times does and small bucks are largely unaffected for very long it is not usual for a mature buck to hang around after being nudged around too many times. If the farm you hunt is not used to much traffic then it is best to keep it that way and give trail cameras two or more weeks between each check.
Before season, in the summer months when batteries will last a long time, I recommend going four or more weeks. However, if you are hunting a particular area during the rut and have to walk directly past a trail camera on entry or exit then take that time to check it so as not to have to make an extra trip. Act wisely when intruding on the area and use major caution.
Having said that, if a farm is used to a lot of traffic or farm equipment then don’t be afraid to get creative when checking your sets. Jump in the tractor to check cameras on field edges. Take a regular farm truck to run around in rather than walking in if this is something your deer herd is used to. Be creative and utilize normal behaviors.
This list is certainly not exhaustive when it comes to trail camera tips and strategies. We didn’t even scratch the surface on security, patterning deer with cameras, settings, or many other things. We did, however, get a really good jumping off point for your time in the field with what I believe is the greatest addition to whitetail success there has been in the past forty years.
By Noel Gandy