Sighting In Your Deer Rifle
Sighting In Your Deer Rifle
Sighting in a hunting rifle is the bridge between practice range confidence and success in the field; it transforms a rifle from a promising tool to a dependable partner by aligning where your scope or sights indicate the bullet will go with where it actually lands.
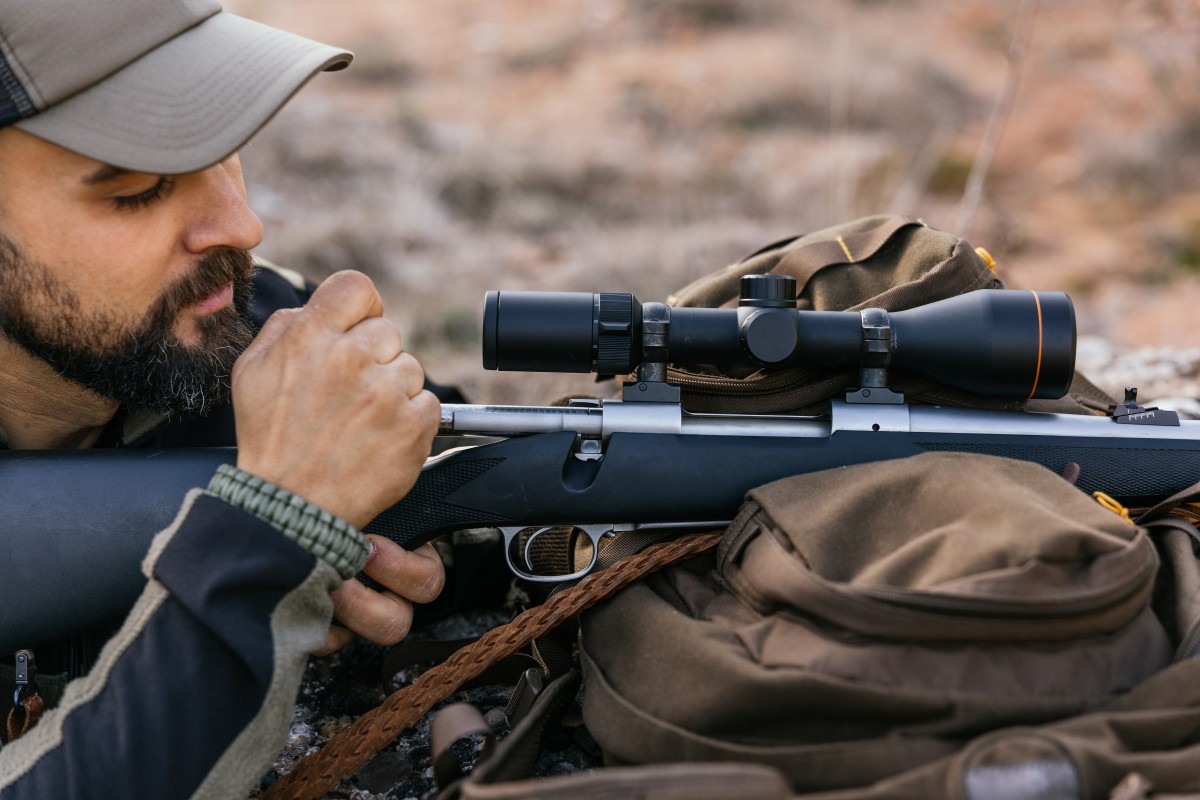
Before you load a single live round, ensure the rifle is safe and in good working order: clean the bore if it hasn’t been cleaned recently, check that the action and stock are solid, and verify the proper ammunition type and caliber for your rifle. Familiarize yourself with your scope’s turrets and adjustment increments—most scopes adjust in minutes of angle (MOA) or milliradians (MRAD), with common click values equating to 1/4 MOA or 0.1 MRAD per click—and make sure rings and bases are torqued to the manufacturer’s specifications so there’s no chance of movement during zeroing. Choose a stable rest for both the rifle and your hands; a solid sandbag or a benchrest will substantially reduce human error and let you attribute any remaining dispersion to the rifle, loads, or scope adjustments rather than inconsistent hold.
Safety begins and ends with awareness: pick a range with a safe backstop and clear firing lanes, wear eye and ear protection, and ensure that the rifle’s safety is on until you are ready to fire. Start by establishing a consistent shooting position, cheek weld, and trigger technique; the goal of a sight-in session is not only to adjust hardware but to develop repeatable habits so that the point of aim equals the point of impact every time.
If possible, begin at a short distance, such as 25 yards to roughly align your scope. Because firing a three-shot group at 25 yards will reveal large misalignments quickly and minimize the use of ammunition and time. Once you’ve confirmed that you’re on paper, move to your desired zeroing distance—commonly 100 yards for many hunters, though some choose 50, 200, or a ballistic-friendly distance that matches their typical hunting scenario—and allow the rifle to cool between groups to avoid heat-induced changes in point of impact.
When you fire your first three-shot group at the chosen zero distance, aim at the exact center of the target and keep every shot’s observation recorded; if the group is centered but too large, the issue may be ammunition or barrel condition rather than scope alignment, and you’ll want to try different loads or inspect the rifle further.
If the group is tightly clustered but off-center, measure the horizontal and vertical distance from the center of the group to the point of aim; convert that distance into the number of clicks required using your scope’s adjustment value—remember that 1/4 MOA per click means roughly 0.25 inches at 100 yards—then adjust the turrets in the correct direction and fire another three-shot group to confirm the change. Always make adjustments in small increments and recheck; over-correcting is common and wastes time and rounds, and the cumulative effect of many clicks can destabilize your confidence in the rifle-scope system.
After achieving a satisfactory group at your zero distance, fire an additional confirmation group to ensure the zero is repeatable and not a fluke; three to five rounds are standard for confirmation, and many experienced hunters will return to a 25-yard or 50-yard target to verify the scope’s alignment across different distances. Keep notes on the exact ammunition used—brand, bullet weight, lot number—and environmental conditions such as temperature, wind, and humidity; these variables all affect point of impact, and finding the best-performing load for your rifle often requires testing several different bullets and primers.
If you plan to hunt in cold weather, consider checking zero at lower temperatures because metal contraction and different powder burn rates can shift impact slightly; likewise, altitude changes can influence external ballistics, so a rifle zeroed at sea level may require small tweaks at high-elevation hunting grounds.
Wind is a persistent challenge, so learn to recognize how crosswinds alter the bullet’s flight and practice making wind calls while you shoot groups; during sight-in, aim for calm days or early mornings when wind is light so you can establish the baseline zero without excessive drift.
Many modern hunters use ballistic calculators or smartphone apps to translate a given zero into holdovers or turret adjustments at common hunting distances. Once you zero your rifle, input your exact bullet BC, muzzle velocity, and zero distance to generate a useful chart that tells you how many inches or MOA to hold over at various ranges—but always verify the app’s numbers with real-world shooting when possible.
Troubleshooting is an integral part of sighting in: if groups are open or inconsistent, examine potential causes systematically—loose scope rings, inconsistent cheek welds, poor ammunition, a dirty or damaged crown, or an unstable rest can all be culprits. If you suspect the scope has shifted under recoil, stop zeroing and re-torque mounts to spec, or swap in a different mount to test whether the problem persists; a reliable scope-to-base interface is essential for maintaining zero under field conditions.
Barrel harmonics can introduce vertical stringing; if your groups show vertical dispersion, try different seating depths or bullet weights, or experiment with a different load altogether—some rifles prefer specific bullet designs and weights for the tightest groups. If you’re sighting in a muzzleloader or a rifle with a lot of recoil, consider using a heavier shooting rest or a recoil-absorbing bag to minimize movement between shots. Be patient and methodical: change only one variable at a time so you know what produced a change, and keep meticulous records of each group, adjustment, and load tested. It’s wise to reconfirm your zero before the hunting season and after any significant event, such as a hard fall, scope removal and reattachment, or transport over rough roads; many hunters generate a checklist that includes a quick three-shot group at a familiar distance as part of their pre-season routine.
Field-checking your zero is the last step and perhaps the most practical: before heading into the woods, fire a confirmation group at a known distance from the actual hunting location if possible, or set up targets at varying ranges to practice quick, practical shots and cheek-weld consistency from hunting positions such as kneeling or sitting. Practice shooting from sticks, a bipod, or improvised rests because most real hunting shots are not from a benchrest; learning to find the same sling tension, cheek placement, and sight picture under field conditions will make your range zero translate into ethical, effective field shots.
If your hunting style involves quick shots at varying distances, consider learning how to use your reticle’s holdover marks or dialing turrets under pressure; speed and accuracy come with repetition, and the more you practice adjusting turrets or holding off using the reticle, the more instinctive it will become when a real opportunity presents itself.
Finally, remember that sighting in is both a technical and a practical exercise: precision in adjustments, careful selection of ammunition, and consistent shooting fundamentals produce an accurate rifle, but regular practice from real hunting positions and environmental awareness turn that accuracy into successful, ethical harvests.
by Ryan Graden
December 2025
For Cattle and Dairy info links below: