Improving Your Marksmanship
Improving Your Marksmanship
As a bow hunter one of the things that I strive for is to take a shot that is accurate and will take my quarry down quickly. Invariably, like most hunters, I have an errant shot that doesn’t quite hit the mark. At times it is circumstances beyond my control, i.e., unseen branches that deflect my arrow in flight, a startled animal, or a reaction I didn’t anticipate. But one of the things that I do have control over is my routine. How well I prepare for that shot. And the best way to do so is by working on improving my marksmanship. We’re going to take a look at some of the best methods to work on exactly that.
The best bowhunters don’t have to think about their shot. They’ve done it so many times that it’s automatic. The process they go through each and every time is learned through practice on the range. If you can’t hit a 3-inch bullseye at 20 yards or a 6-inch circle at 40 yards consistently there is certainly room for improvement.
The Stance
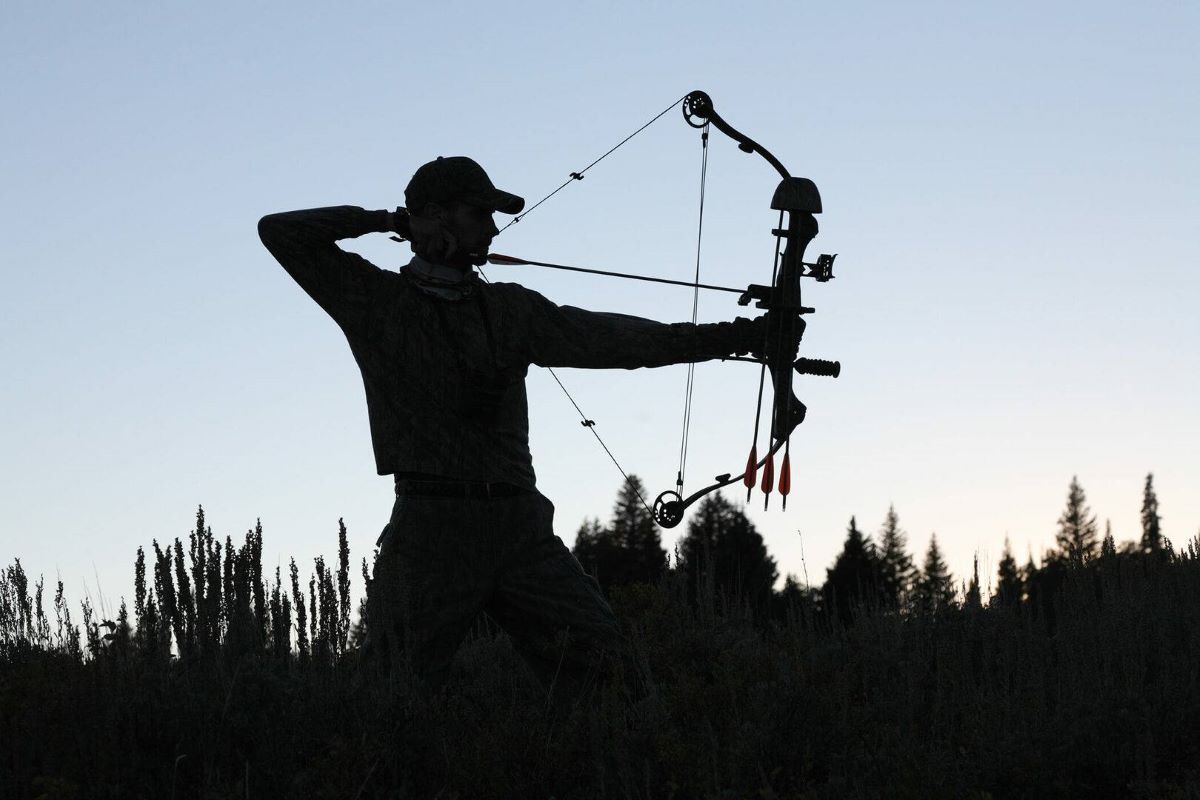
Whether you’re on the ground or in a treestand, taking the proper stance will improve your accuracy. The “stance”…Stand facing your target at about 45 degrees, feet spread apart 18 to 24 inches and parallel. Your toes should be pointing at the target, not at 90 degrees or somewhere in between. This allows you to face your target more directly as you prepare to shoot. It also limits movements that may spook your quarry. At 45 degrees the bowstring moves away from your bow arm and chest. When you’re getting fitted for a bow and adjusting your draw length, this is also the proper stance for that measurement, otherwise, it may be up to two inches longer than it needs to be.
The Grip
When I first started bow hunting one of the very first tips I received was how to grip the bow. Basically, extend your arm and open your hand as if you were going to shake another. The grip of the bow rests right between your thumb and forefinger while the balance of the grip presses into the palm of your hand. From there you wrap your fingers on the front of the grip lightly so that your grip doesn’t alter the shot or your aiming point. Most bows will come with a wrist sling so that when you release the arrow, the bow will roll forward in the palm of your hand, held in place by the strap. Never shoot with an open hand and no wrist sling, this forces you to grab the bow during the shot and will drastically alter your accuracy.
The Draw
Many years ago I had the opportunity to take an eight point typical buck. The stand was set up in the perfect place, my partner was video tapping from above, the buck was waking in right along a trail we had scouted…it was going to be perfect. My heart was pounding out of my chest as he walked into the tree line.
The shot was going to be less than 20 yards! His head went behind a tree and at that moment I thought, “draw”! As he passed the tree I was in the middle of the draw and my arrow ran across the rest making enough noise to notify the entire deer herd that I was there. An abrupt stop with no shot at vitals. I held as long as I could before I let off and he ran off…I don’t think this disappointment is a strong enough word for that morning.
Practice Practice Practice
So why the little interlude about that particular draw…practice practice practice. Had I spent a bit more time on the range making a smooth transition to full draw, smoothly and quietly, I may have had a big buck down that day. Point the bow toward your target and check your grip, make sure it’s loose, pull the string back slowly and smoothly. You shouldn’t hear a sound from your arrow rest and arrow as it glides back with the draw.
One of the other problems I had that day was that the bow was relatively new to me and was set to 70 pounds. In order for me to come to a full draw, I have to push out with my left hand pointing the arrow up and away from my target and then pull. Honestly, had I taken the time to had that draw adjusted the outcome will have likely been much different. If you can’t come to a full draw pulling smoothly and keeping the point of your arrow towards your target, you need to have it adjusted.
The Anchor
Once you’ve come to a complete draw you want to lock your string hand to the side of your face, anchoring to your shooting side. Find a comfortable anchoring point and come back to the same spot each time you come to full draw. I will typically place the thumb of my release hand just behind my right ear, allowing my trigger finger to rest against the release. Each time you come to a full draw and you’re anchored, you should be able to see your yardage pin and peep with consistency. Same spot, same feel every time.
Take Aim
I use aiming sites on my bow, I only have two. One at 20 yards and the second at 30 yards. I’m most comfortable at those two ranges so that’s where I practice the most. When you come to full draw and you’ve reached your anchor point, take aim. The key here is to aim at the same point each and every time. Center your pin, the peep, and target. I tend to come to full draw, center my pin in the peep and slowly lower my sights until I’m centered on my target. Again consistency is important; doing the same thing over and over creates a routine and helps with muscle memory.
The Release
For most of us that bow hunt, mechanical releases are what we use. The release should be smooth and not forced. Squeeze the release without jerking or pulling quickly on the trigger otherwise, your shot will be altered as your aiming point may change. Applying pressure to the release slowly will result in a smooth release of the bowstring and the arrow will fly true and straight to your target. Finger shooters have a difficult job, it’s tough to release the bowstring consistently shot after shot. Most top finger shooters will relax the top or bottom finger as they aim. Relax your fingers once you’ve taken aim and the bowstring will do the rest, ripping away with the arrow.
Follow Through
Once the arrow has been released maintain our stance and keep the bow pointed towards your target. The bow should slowly roll forward in the palm of your non-shooting hand, held in place with the wrist strap. Most compound bows have a counterweight on them which allows this action to happen naturally. The follow through should be as smooth as the draw with little movement on the hunters part other than keeping an eye on your target.
Practice Makes Perfect
There’s no doubt that practice will improve your accuracy and chances of taking that trophy buck as he walks into your treestand. The goal of step by step practice allows you to be prepared when that deer comes into range, every step will be automatic from start to finish, resulting in improved success in the field.
Improving Gun Accuracy
Quite honestly the steps taken for archery can apply for improving your gun accuracy, with some obvious differences. I don’t use a shotgun or muzzleloader for deer season…yet, but in my past life, I spent ten years in the military where training for expert marksmanship was a monthly routine. One of the best training sessions I ever participated in was how to improve your aim and marksmanship with the assigned weapons we used at the time.
As in bow hunting having a steady anchor point is important. When you raise your gun up to your shoulder make sure to anchor into your shooting shoulder, and you should feel the butt of the gun. One of the best tools we have in aiding in anchoring the gun is the shoulder strap. Use the strap to grip the gun steadily in your non-shooting hand as you bring it up to your shooting shoulder. There should be little to no movement of the gun from shoulder to the front sight.
While you’re taking aim, breathing is important. One of the skills I learned a long time ago was to exhale just as you complete your aim and are ready to pull the trigger. Believe it or not, taking a breath as you pull the trigger will raise your aiming point and you’ll miss your target. As you exhale and come to rest, pull on the trigger, just like the bow, and allow the “release” to send your round down range. This whole process should be smooth from start to finish.
Conclusion
We all get “buck fever”, whether you’re taking aim with a bow, shotgun or muzzleloader. The increase heart rate increased breathing and nerves will add difficulty to your shot. Practicing limits these so that when you have that chance it’s all second nature and you can see the end result of your range time as you walk up to your trophy. Practice will also diminish the chances of you taking that errant shot that either completely misses the target or wounds the animal and either it’s lost or you’ve got a long track ahead of you. As a hunter, my goal has always been to take an animal quickly and humanely. Having a routine, step by step shot process improves your chances of doing just that…enjoy the hunt, enjoy the resources we share in this State and share it with someone new.
Good Hunting All!
by Ben Leal
August 2019
Make sure to keep your eyes and ears safe check out this article below for more information
If you are looking for this month’s issue of the Iowa Sportsman Check it out Below
Here is the Cattle/Dairy side if you were wanting to check that out