DIY Turkey Tail Mount
DIY Turkey Tail Mount
As Sportsmen, we like to preserve our trophies. Sometimes it’s the size of the animal that we’ve harvested that creates the desire to do so. Sometimes it’s the uniqueness of it and sometimes it’s for the memory or the story that was experienced. Whatever the reason, hanging something on the wall means a lot to the one who made the harvest. That’s just one reason to try out this DIY turkey tail mount.
Years ago, when I started turkey hunting, I was lucky enough to make my first harvest on a mature eastern turkey. The hunt lasted all of about 30 minutes. I had my first turkey on the ground and I couldn’t’ have been more excited! The animal wasn’t a “giant” bird, but it was my FIRST bird and I wanted to mount it’s tail fan to remember the hunt.
Advised by an experienced turkey hunter, I took it upon myself to do the mount on my own. His instructions were, “all you need is a board, nails, and some borax”. So, I gathered the materials, stretched that fan out as wide as it could go, nailed it down to the board, and covered the meaty part with a mound of all purpose borax. In about four weeks time, the tail had dried out and I had finished the mount with a nice oak board to hang it on the wall. It worked! However, a few things started to happen.
First off, over the years, mites began to eat away at the dried up “meat” in the tail. That seemed to weaken the mount, and before I knew it, it was no longer presentable. At that point, I wasn’t sure how to continue to do this for future harvests. I was a bit lost until I met a professional taxidermist who shared with me a secret that I have used since.
The following instructions will allow you a professional looking turkey tail mount that will only take you about an hour to do AND will last for years and years to come. I will lay it out for you in the rest of the article.
Step One
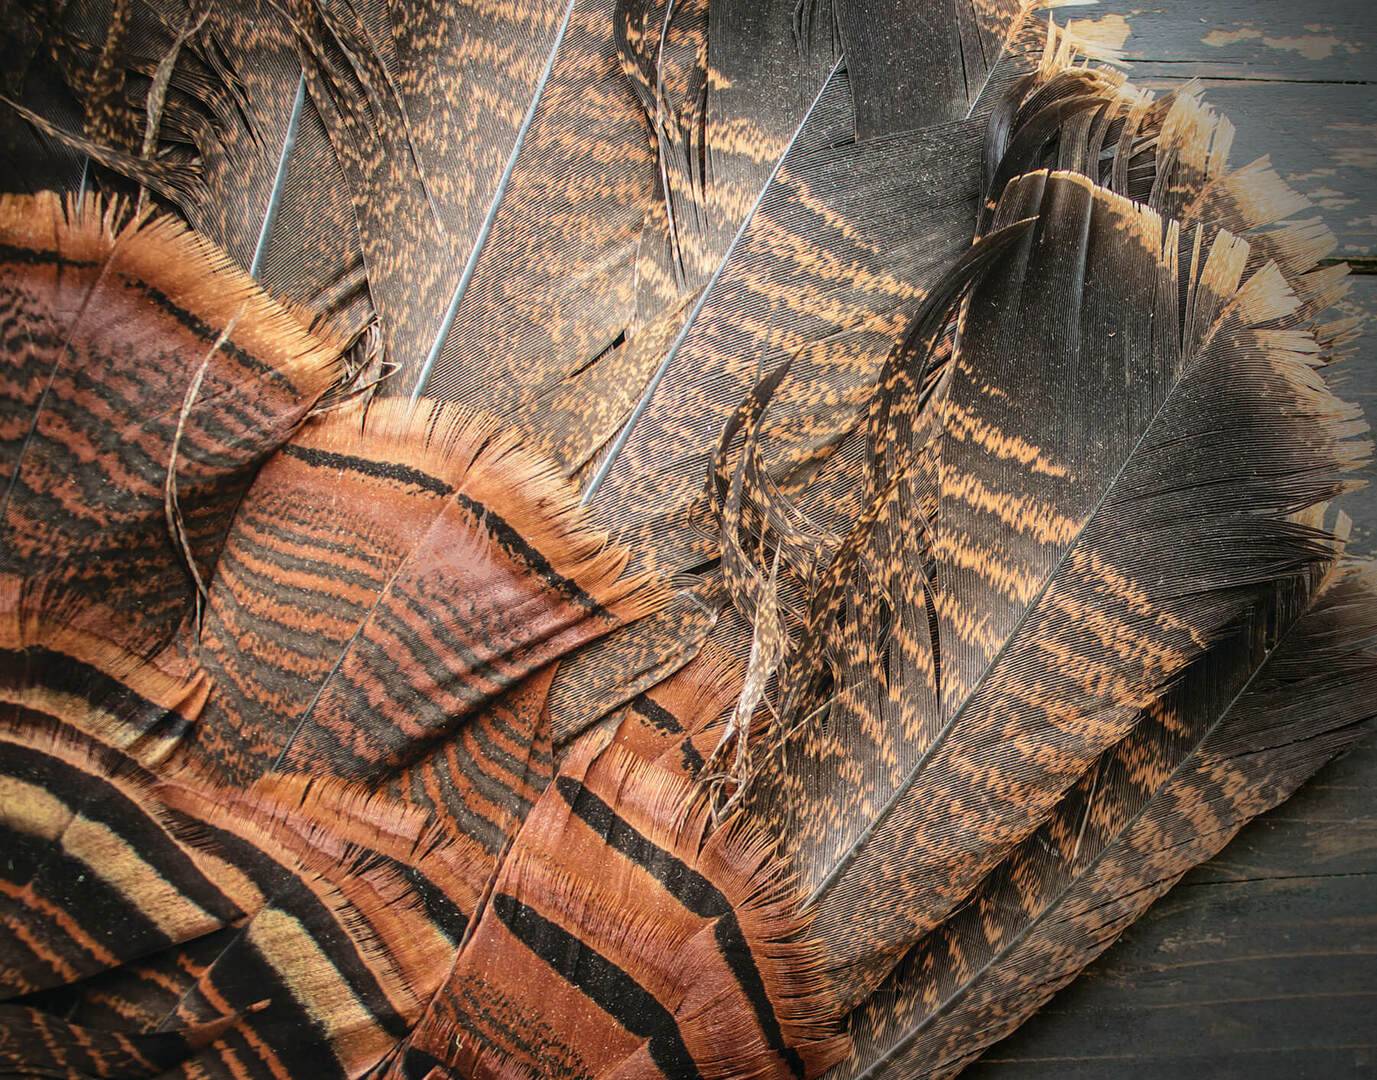
With your tukey tail in hand, you will notice there are three “sets” of feathers when you look at it. Begin by identifying these three layers of different feathers. We are going to start with the most prominent ones, the “fan” feathers. Generally, there are 18 feathers in the fan. These are the longest feathers in the tail, usually 15-18 inches long.
Use your hand to separate these feathers from the second layer of feathers in front of them. Take your knife, and find the base of these feathers where they are attached to the “meat” of the tail. Cut down through the tail to separate these feathers from the second- and third-layer feathers.
Step Two
Begin to cut these feathers apart one at a time. Start from left to right or vice versa. As you cut these apart, keep them in order. You will notice each feather is shaped appropriately for it’s position in the fan. Getting these out of order will make your fan look very strange!
After you have separated the feather from the rest, take your knife blade and place it at a 90-degree angle on the base of the feather shaft. Gently, but firmly, scrape the meat off the feather pushing it down toward the end where the feather was once attached to the meat of the tail. This takes a bit to get the “feel” for how to do this. Once you get the hang of it, turn the feather as you scrape until you get all the meat off the stem. Do this for all 18 feathers. Again, keeping them in order.
Step Three
Now, look at the feathers left in the “tail”. You should see a second layer of feathers that would be found just in front of the fan feathers. There are quite a few of these and you will not need all that are present. These second layer feathers usually range from four-eight inches tall with the taller ones found in the middle area of the tail.
Carefully grab these feathers at their base and with a firm tug, pull them out one at a time. Make sure you get some from the center as well as the left and right side. The lengths will vary. Again, if there is any meat or grizzle attached to the feather, use the knife to scrape it off.
NOTICE… again, you do not need to pull out every feather! Just pull enough out to create a second row for our fan when you lay them all out.
Step Four
Repeat the previous step for the last or third layer of feathers. Again, you do not need to pull all of them. Just enough to create a third layer for your fan mount.
This third layer of feathers might have a little more “fuzzy wisps” at the base of them. Take a scissors and cut away this down leaving about an inch of feather stem bare.
After this step, you should have set aside three layers of feathers. All should be cleaned at the base and there should be no meat matter attached. Just clean-stemmed feathers.
Step Five
This is where you begin to assemble your fan. First, set a piece of wax paper down to lay your fan on. Start with your fan feathers or first layer. These, are your tallest feathers. Make sure you start with the left AND right edges. Lay these down first. Then, lay each consecutive feather on top the previous one until you have all 18 feathers come together in the middle. I will repeat, lay them on top of each other, covering about half of the previous feather with each one you lay down. You might have to do some minor adjusting to make it symmetrical. But the important part is to make sure the stems of the feathers are all close to each other creating a semi-circle no more than 1.5 inches across.
Second, take your second layer of feathers and place them so their stems meet the stems of the first layer. Make sure with these feathers you keep the taller ones to the middle and shorter ones to the outside. Again, you do not need to use all of them. Just enough to create a second layer.
Third, take your third layer of feathers and do the same. Again, meet the stems of the feathers where the previous two layers are meeting already. Create a good uniform third layer.
Step Six
This is what brings your fan mount all together! This also takes some careful concern. Let me explain.
We are going to use a two-part car putty to put this all together. That’s right! Car Putty also known as Car Body Filler. This can be found at Auto Zone or O’ Reilly’s Auto Parts.
It comes as a two part kit. One part is the putty and one part is the hardener.
Now we are at the hardest part of the project. Once you have this, mix a large enough amount to cover the stems of your turkey tails. Depending on the brand of putty you buy, it will harden at different rates. Some of the fastest will begin hardening within 5 minutes or less of mixing. Read the directions to know what you have.
Mix those together thoroughly with enough time to pour it or spread it over your tail feathers. Now, again, this can be challenging. Feathers will move depending on the thickness of this putty. So be ready to make slight adjustments quickly in your fan to make it symmetrical before the putty hardens.
Let this sit for an hour or so after the putty is applied and you should have a completed turkey tail! I would suggest looking at the back of the tail once it hardens to make sure putty has securely attached to all feathers. You might have to make another smaller batch of putty mix to “fill in the holes” that aren’t covered in the first pour.
At this point, you should have a mountable tail. Because you have stripped off all bio material (meat, fat, etc.) the tail will not rot. Using this method of mounting also allows you to have a mount finished much quicker! You could have a tail mounted within 24 hours of making a harvest!
Use a nice wood mounting plate or whatever you wish to finish the mount to place it on the wall. Once it’s up, the memories of the hunt will flood back into your mind every time you see your tail.
Good luck!
By Ryan Graden
May 2022