DIY Iowa Kill Plots
DIY Iowa Kill Plots
Developing a food plot for deer requires more than a few months of preparation, it’s a year-round process. Some of my best food plot strategies have been born from time spent in the stand, carefully observing how deer move, what they browse on, and where natural edges or clearings create opportunities. Shed hunting season also offers valuable insights. While searching for antlers, I make a point to note every bit of deer sign I encounter, from trails to bedding areas. Knowing your property intimately and strategically planning your next ambush location can make the difference between a successful hunt and a missed opportunity. In this article, I share my broad approach to develop, implement, and hunt a kill plot.
Analyze Maps
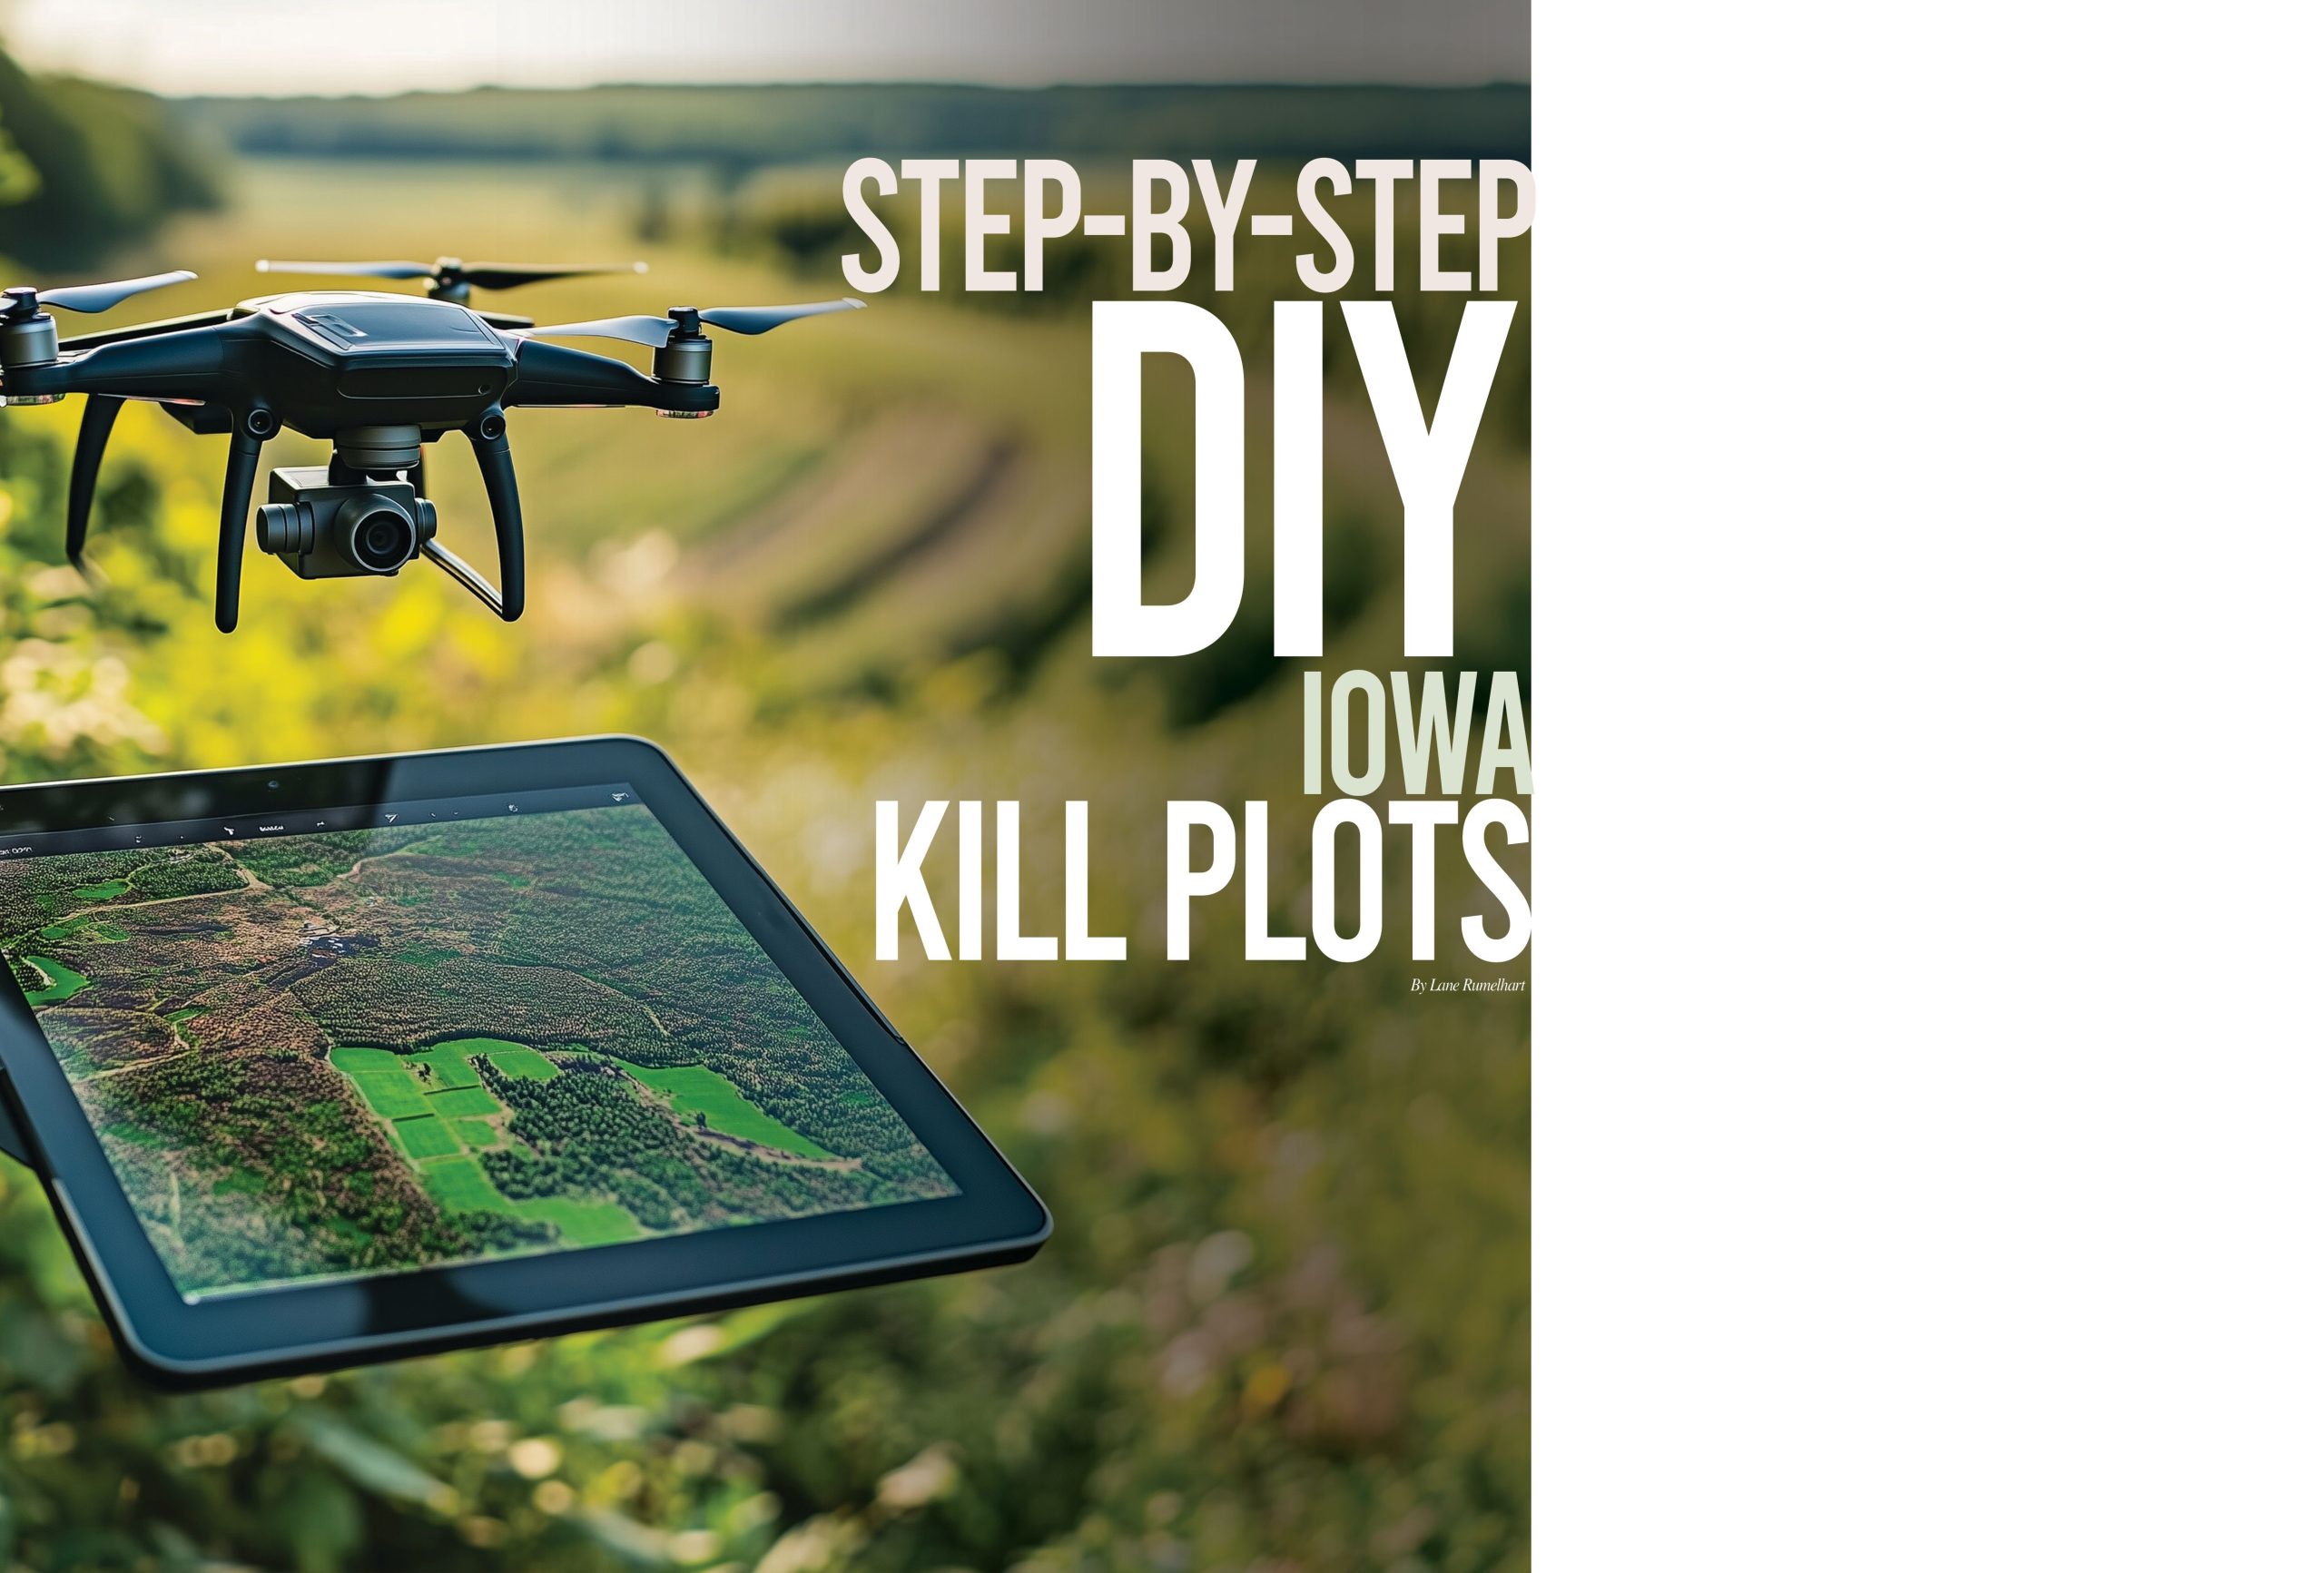
The most underrated, useful and FREE tool to help start your plan is Google Maps. I use Google Maps’ satellite imaging feature to get a bird’s-eye view of the property I’m hunting. The imagery is typically captured during the summer months, showcasing the land in full foliage. While this can make certain features like tree lines, edges and dense cover stand out, it also may obscure other details like trails or clearings. By analyzing these images, I gain valuable insights into the layout of the property and identify potential areas to focus on for my food plot and stand locations.
I start by identifying drainages, and pick out ditches, creeks or other natural channels that deer will use to travel. These also can be used for entry and exit to the plot. Bare areas in timber may show you potential locations for small clearings. You also will see differences in types of cover. I like to look for transitions, like a mature timber edge that meets a patch of cedar trees. There are other available apps or programs out there that can offer topography, 3D imaging and more that may require payment. For me, aerial imaging is all I need to start identifying places that could be potential kill plots.
Form A Plan
Once I have some locations, I get onsite and start visualizing how the plot would look. If I don’t have a good entry/exit strategy, I immediately cross off that spot and move to my next site. I must be able to remain concealed to and from the stand during the season, or I risk ruining the plot. Next, I look for good trees to hang a stand or ground cover for a blind. I like to set up on the east or south sides of kill plots, since I typically have better success with northern or western winds. Again, if I don’t like what I see, I move on. I snap a few photos or videos of the area to take back with me, along with a sample of soil for a soil test.
3 Must-Have Pieces of Equipment
Once I have my spot, I gather equipment for my next visit. This is where plots of many shapes, types and sizes can start to vary. I value simplicity, and if I had to choose just three pieces of equipment to rely on for the rest of my life, these would be a chainsaw, a backpack sprayer and a broadcast seeder. These tools are affordable, versatile and highly effective, perfect for anyone working on a limited budget. Of course, if you have access to more advanced equipment, take full advantage of it. But no matter your resources, creating a successful food plot is within reach. With these three essentials, you can maximize your efforts and get the best bang for your buck (pun intended).
Start by clearing unwanted trees, shrubs or anything else undesirable. Be careful not to remove something that may be of value to your plot. If I can leave a couple of young oak trees within or near the plot, I always do. These provide an additional food source, along with shade to protect the food in dryer weather. Be careful not to over-clear the area. I’ve made the mistake of making my kill plots too large. The last thing I want is deer to visit the plot and stay outside of bow range. Remember, we are building a “kill” plot and want to try and entice deer to enter and be within shooting distance. More food might seem better, but if deer never come within range, it defeats the purpose. Most deer are going to visit a food plot for less than 15 minutes. I like to be able to shoot into at least 50% of my food plot area.
Next, apply a safe and recommended amount of herbicide. When using chemicals, I always wear a mask, gloves and eye protection. Glyphosate products will take care of most plants quickly. Once you have a good die off, you must decide if the cover left should be burnt off or left standing to act as thatch for your seed. I typically burn it off. Start slowly and wait until conditions are optimal. This will allow a second, and sparser, layer of weeds to come up that I spray again. This second layer of weeds will act as a thatch layer for my seed. Often the first layer of dead material is too thick for seed to reach the ground. Bare, charred earth may appear as a good seed bed after a burn, but without thatch or a lot of shade, most food plots will burn up from the July and August sun. Plan to spray in early June, to allow plenty of time for a die off, burn, and another die off if necessary.
Choose Your Crop
Sticking with simplicity, my planting strategy is no different. I plant one of three things—clover, winter rye or a brassica blend. The soil test mentioned earlier may dictate what is best to plant. Neutral soil with a pH of 6 is ideal for all three of these food types. There are many other options, but these three are my preference for bow season food plots. When there is high deer density, I plant clover or rye. I choose clover when I can access the plot with a mower, to maintain the perennial species year after year. If access is limited, I plant rye. Rye is easier to manage and less of an investment upfront if you choose to do something different in the future. When I have a larger plot or lower deer density, I plant brassicas. Once deer find brassicas, it is hard to sustain these without supplementing nitrogen. I typically don’t plant brassicas unless I have at least one acre of area. Brassicas are an annual plant, so are ideal for spots that can only be reached on-foot. All three of these species can be broadcast on top of the soil successfully. The clover and brassica will do better if you drag or lightly pack the seed into the soil. Rye can grow directly on top. All three do well in most soil conditions and are affordable.
Weather Can Make or Break Your Food Plot
Keep an eye on your plot after planting, and hope weather conditions remain favorable. If possible, time your planting right before a forecasted rain. This will improve your chances of germination before birds, mice and squirrels feed on the seed. Set a trail camera and begin to monitor what and when deer are visiting. I like to leave my plots as secluded as possible. Knock out as many items as you can when you do visit. I try to hang my stand, set my camera, and trim any remaining trees or brush all in the same trip. The less activity before the season, the better. Once you start getting pictures of that target buck showing up in daylight, it is time to hunt. Do not hunt the spot until conditions are right. Deer are more predictable in October than they are in November, so once you see temps drop and receive the desired wind direction, go for it. If you don’t have any evidence of a target buck hitting the spot, don’t fret. Does will draw in mature bucks later into season. Be patient, and only hunt the spot when conditions are optimal.
There’s hardly anything more rewarding than harvesting a mature buck on a brand-new kill plot. Start your research early, and don’t be afraid to venture deep into the property to pick out potential locations. If you have a good entry/exit strategy, you may wind up finding the next best spot to hunt on your land. Don’t be afraid to try a new food source and keep your area compact. Deer are looking for new spots to browse all the time. If you play your cards right, you may cross paths with a nice buck on your kill plot next fall.
By Lane Rumelhart
July 2025
Here is another article from the July issue of the Iowa Sportsman 2025
Please also come look at our other websites