
How to Process Your Own Venison
How to Process Your Own Venison
By Cole Rozendaal
When the time comes to fill your deer tag, it can be a tough decision what to do with the meat. Going to the butcher is an easy and convenient way to have your meat processed, but the pricing can be expensive. One thing I can promise with processing your own game meat is that though it is hard work, the payoff is very rewarding and the skills to do so will last a lifetime. Here are some ways to get started and help you save in the future.
Field Dressing
Once you’ve found your deer and properly tag it, it’s time to get to the nitty gritty and start by removing the hide. Having a selection of field dressing knives that are sharp and durable will pay off in the long run. To be safe while handling meat, be sure to wear gloves and always pay attention to where you’re cutting.
Once the hide is removed, I like to start by removing the legs of the animal. The front shoulders as they call it are relatively easy to cut away. Simply follow the line of the major muscle groups and the shoulder should come off. The back legs are the same process but there is a ball-and-socket joint that holds the leg to the body. Take your knife and carefully cut the tendon to remove both hindquarters. You can leave the front shoulders whole if you’d like or cut the meat from the bone for ground meat later. The hindquarters offer cuts like top and bottom round, roasts and the shanks which can be used for many recipes.
For backstraps, the easiest way to take this cut out is to cut along the spine as if you were filleting a fish and follow the meat down the length of the body. Once removed, the backstrap can be left whole or cut into steaks. The tenderloins that are on the inside of the body are easy to remove using the same method. Pieces like the ribs and neck require more than just a field dressing kit. A bonesaw is typically used when you want to keep everything intact, but you can take a knife to avoid bones. For the neck, I prefer bone in and the ribs I prefer to take off the bones for the grind pile.
The gut pile, or offal, is often overlooked by hunters because they would rather not eat organs from the deer. Common things that are taken to eat are the heart and liver. While these do sound very intimidating, the heart is essentially another piece of meat and the liver is very nutrient dense. I’ve even known some people to cook the liver for making dog treats. I can attest that if the heart is cooked properly, it is just like any other cut of meat you’ll get from your game.
Meat Processing
Now that you’ve gone through the field dressing, you’ll have to figure out exactly how you want to divide your meat into roasts, steaks, or ground. You can definitely go for all ground meat, but there are so many different ways to utilize all of the different cuts. The hindquarters have 6 cuts: bottom round, top round, eye-of-round, tri-tip, rump, and sirloin. Once you follow the major lines of muscle and debone them from the leg, you can package these separately for any meal you want. Be sure with any meat that you try to remove as much as fat and silverskin to avoid any chewiness after being cooked
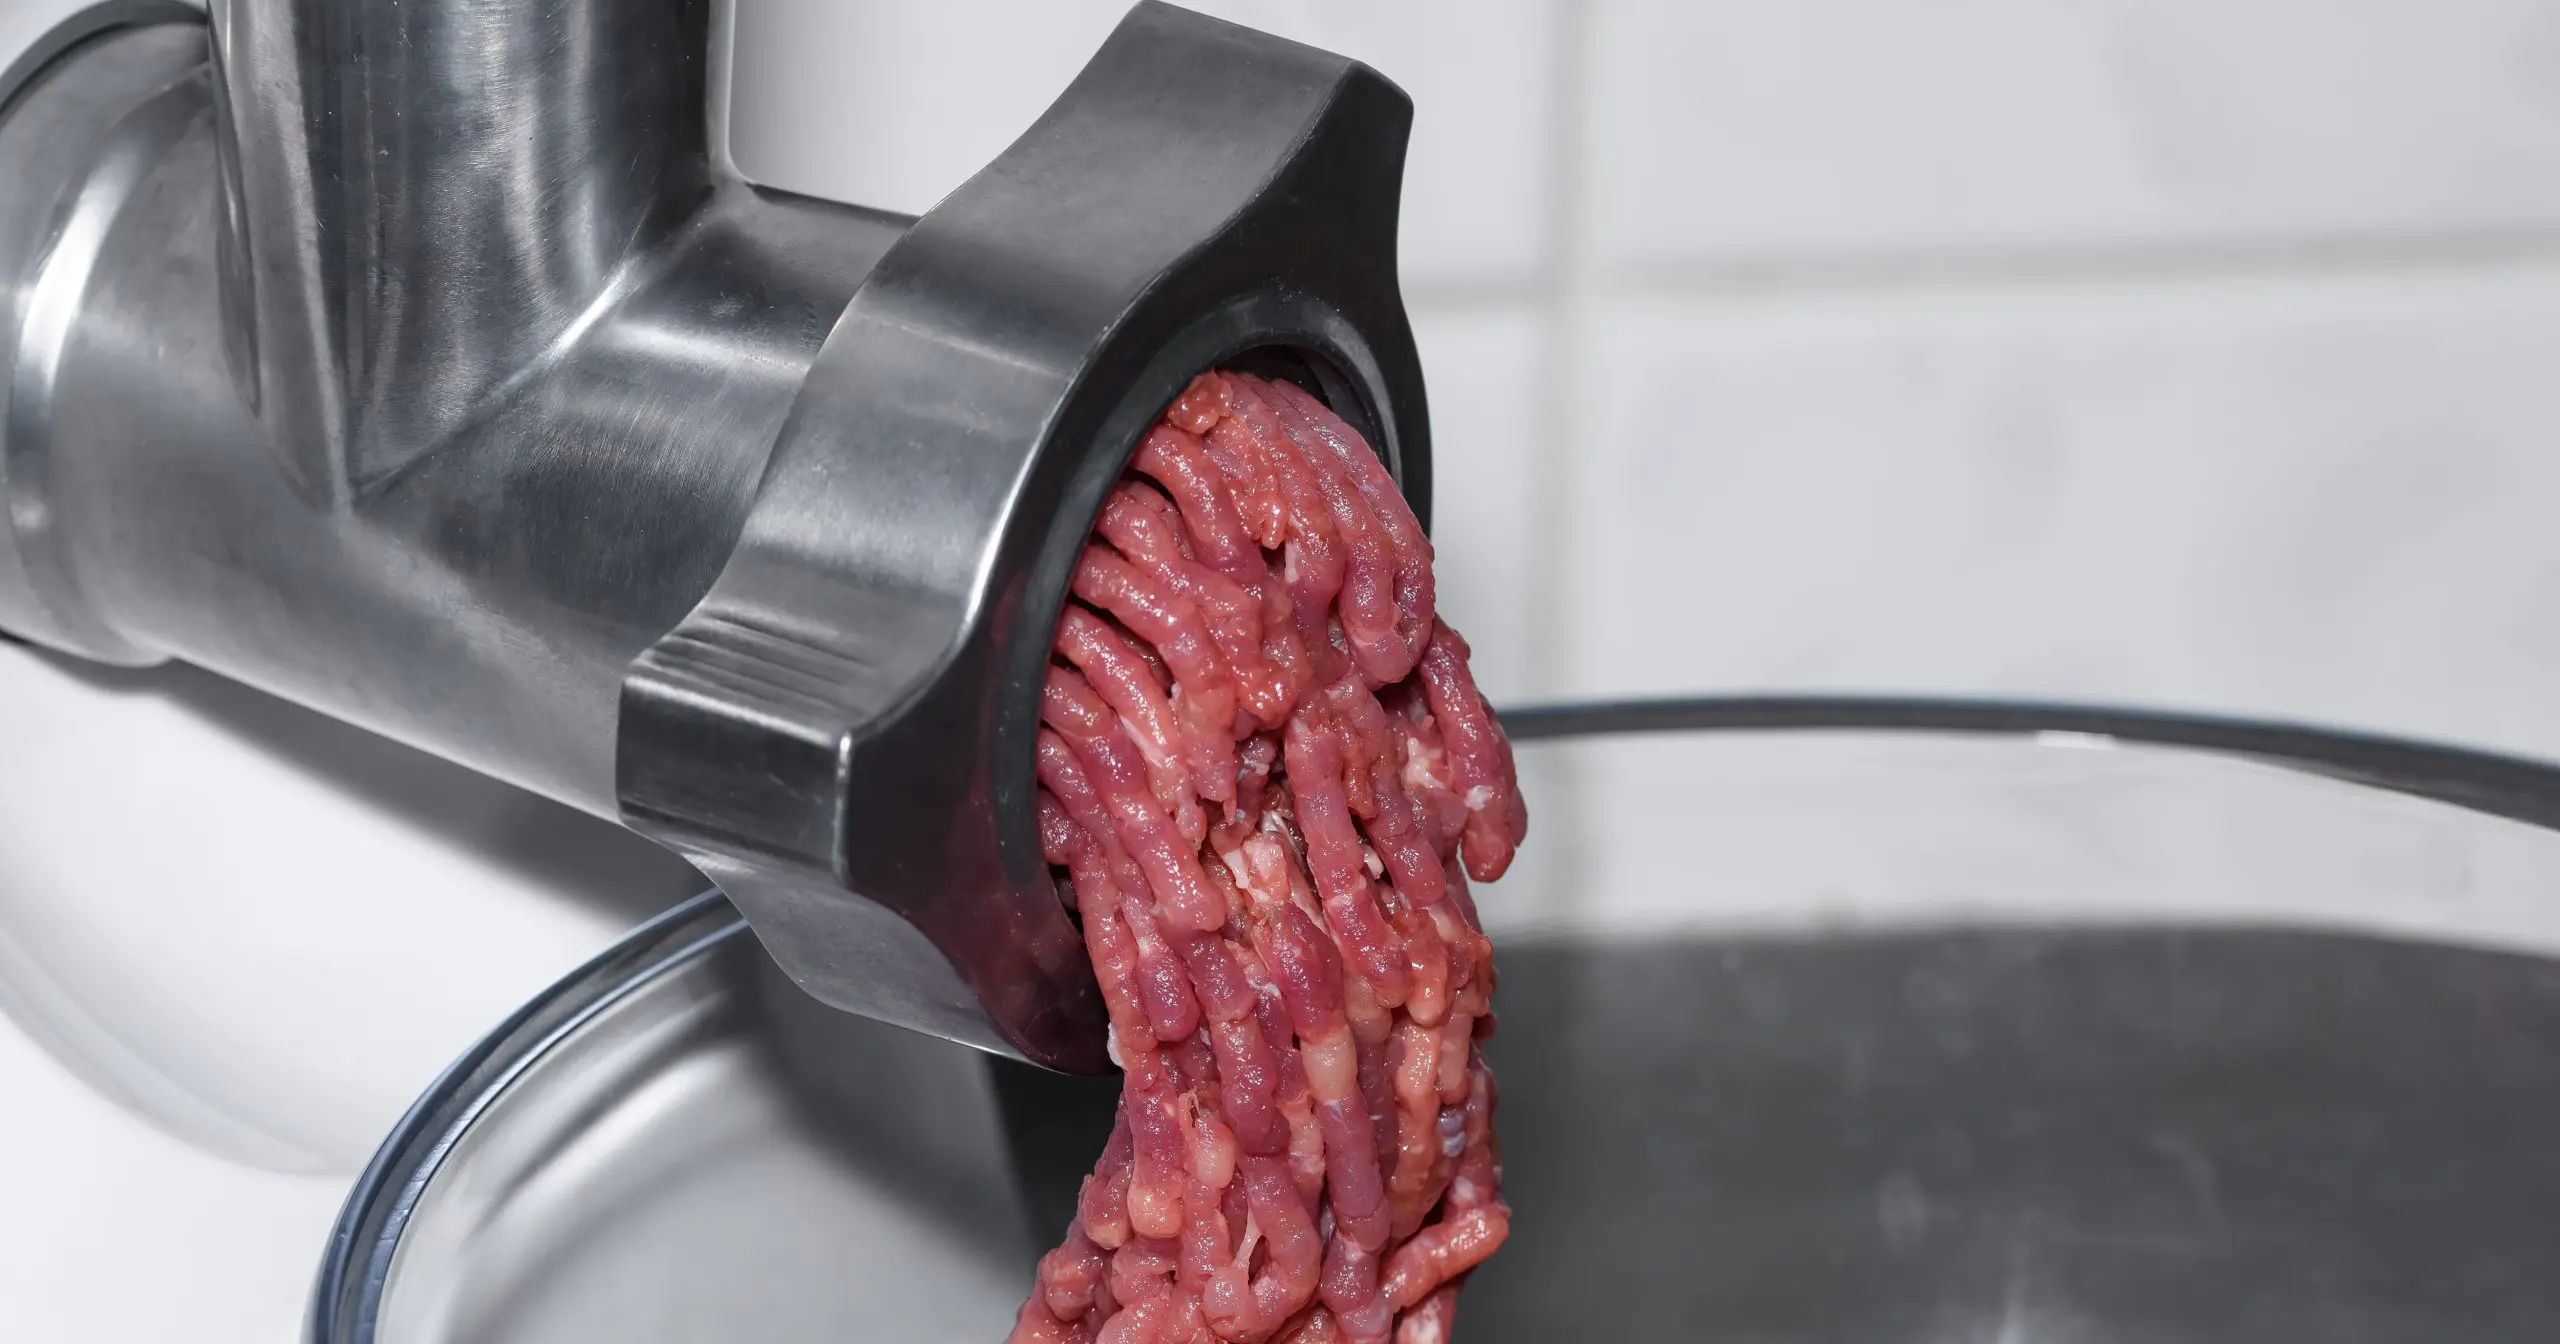
When it comes to grinding deer meat, it tends to be on the leaner side. Try adding pork fat or beef tallow to provide it with a little more flavor. A good ratio to use for grinding venison is 82/18. Cube your choice of venison cut into 1-inch pieces and then throw into the freezer for about 30 minutes. This helps firm the meat for the grinder to cut cleanly and reduce any smearing. Run the venison into the grinder by itself first, then run it through a second time with your pork fat or beef tallow. The possibilities for ground venison are endless from jerky and sausage to burgers and one-pot meals.
Backstraps and tenderloins on their own can be separate meals. Backstraps can be cut into steak like mentioned previously, cut in half to maximize meal usage, or left whole if desired. Shanks are usually either deboned and used for ground meat or used whole for the slow cooker. The rib and neck are great choices to leave whole, but if being used for ground meat, simply follow your cuts along the bones to ensure you get every usable piece of meat. For neck meat, you can also use each side if cut properly. For these cuts, always be sure to trim away any excess fat or silverskin to remove any gamey flavor. Another thing to be sure of is to wash your meat to get rid of any dirt and fur to avoid spoiling.
Packaging
Once we’ve got the meat cut how we want, we can move towards storing it in the freezer. After rinsing, pat it dry with a paper towel. One way to store this away is with ziploc bags. Depending on the size of the cut, make sure you have a plan of how you want things stored and sorted. Place the meat in the bag and try to remove as much air as you can from the bag. The less the air is better for long term storage. Another tool that can be used for storage is a vacuum sealer. This helps pull all of the air out of the bag to ensure optimal storage time. Bags for these are typically sold separately and can be found at major appliance stores near you. A chest freezer is ideally what you want when it comes to storing your game meat. The space is dependent on how many deer you plan on taking in a hunting season, but they do come in all shapes and sizes.
Processing venison can be a hard working process, but the risk is worth the reward. This skill set will help save you money in the long run and improve your skills as an outdoorsman. I wish you all the best of luck this hunting season and hope your harvest is plentiful!
Follow us on Facebook! The Iowa Sportsman | Facebook