5 Steps for an Easy DIY European Mount
5 Steps for an Easy DIY European Mount
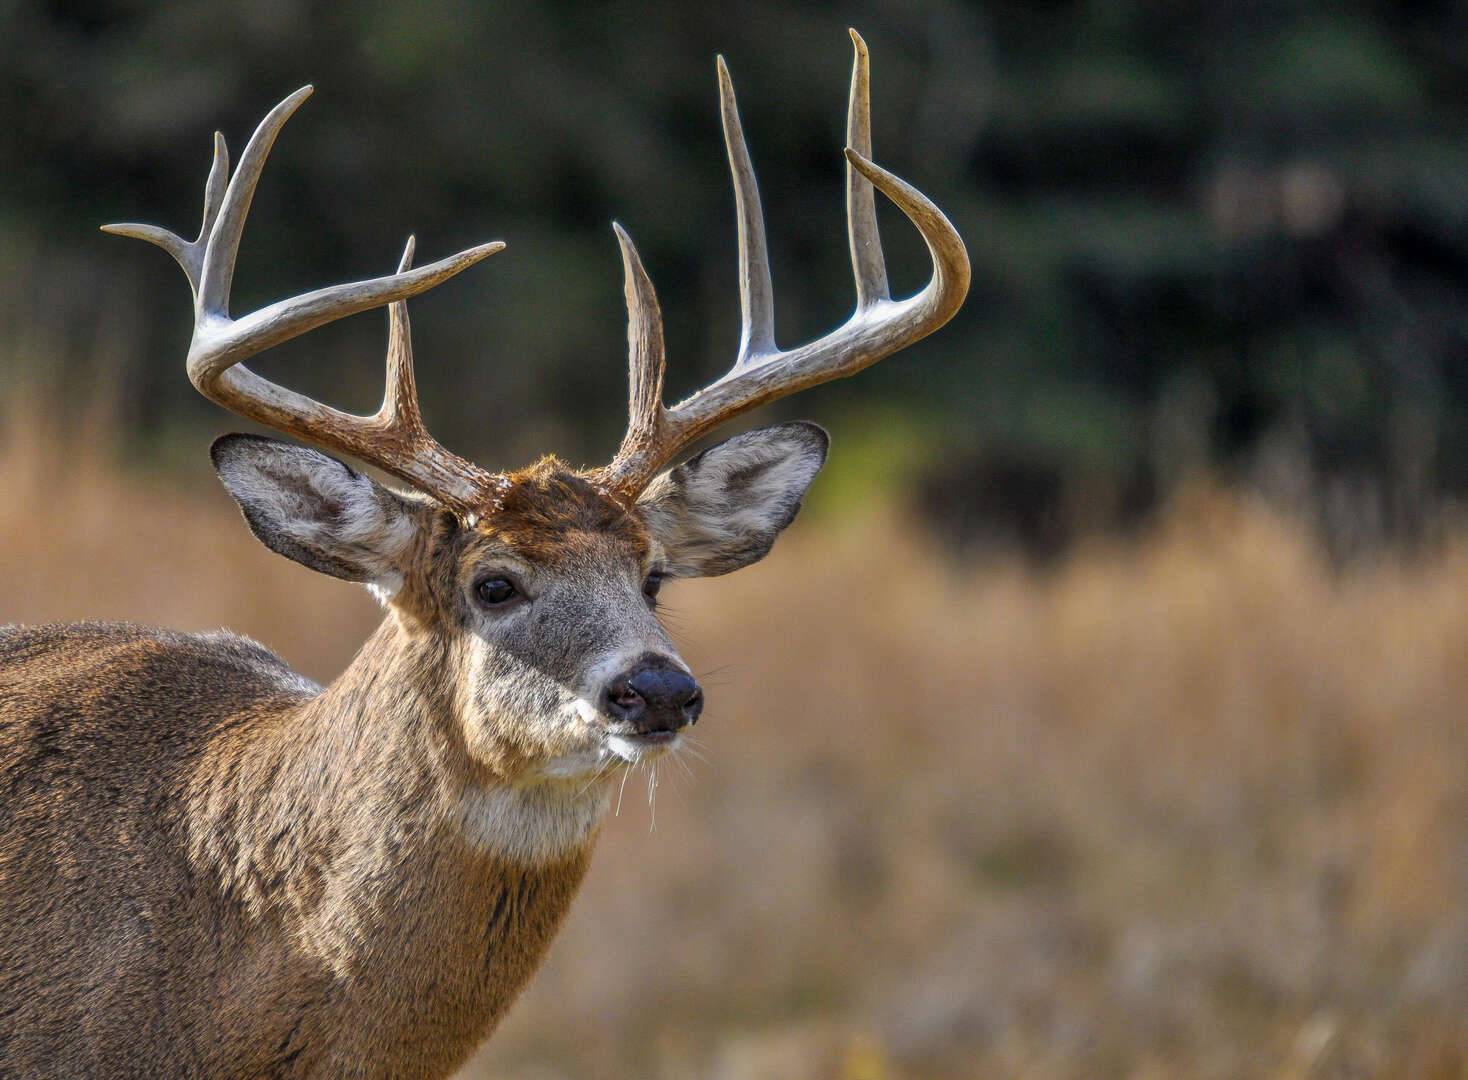
As a native Iowan I am reminded how blessed I am every October when I begin pursuing whitetails in a state notorious for producing trophy class deer. Once the hunt is over, when we have harvested a mature buck, we seek a way to preserve the memories of the hunt. Taking a deer to a taxidermist for a shoulder mount quickly becomes expensive. You might consider doing a European mount yourself instead. It will save you a bundle in materials, and will have a mount ready to display in as little as a day. In 5 easy steps, you can have your big buck ready to be displayed in your home.
Remove the Hide From the Skull
As with any project, use safety precautions when prepping your deer for the boiling process. A sharp knife will give you the most precise control and reduce the amount of force needed to separate the hide from the skull. In contrast, dull blades require more pulling and exertion which promotes slipping, and increases your chance of accidentally hurting yourself. During my first European mount, I used two dull knives and trimmed the hide as close to the base of the antlers as possible. I eventually learned, via trial-and-error, that you can leave a ring of deer hide around the bases of the pedicle. As you boil, the hide will loosen and slip off. For best results, start with a sharp blade, and remember to always cut away from yourself.
To remove the hide from the skull of the deer, I make a slit from the forehead to the nose and then skin the hide off the skull. The better you flesh the skull and the more material you remove from the skull, the less you have to boil. I only remove the deer hide from the skull; I choose to leave most soft tissues intact to the head and let it boil off over the course of a few hours.
I have found it is easier to let the boiling process do the work rather than spending time scraping and removing connective tissues and remaining muscles. It is also more enjoyable for me as there is minimal effort involved. As you look back and review the process, you want it to be as effortless and enjoyable as possible, which is why I let the boiling remove almost all the soft tissues for me.
Gather Materials
After you have removed the deerskin from the head of the deer, it is ready to be boiled. You will need a tall stockpot, one bottle of hydrogen peroxide, and a burner or heat source. There is a slight odor produced by boiling the head along with a lot of steam. I would not describe the odor as foul, but I do not think I would like my house smelling of this odor. For this reason, I choose to use a propane outdoor stove to heat the water outside my house. Once you have gathered your materials, you are ready to start boiling.
Fill your Stockpot with Water
The whole process, from cleaning to boiling, takes me 8 – 10 hours. As mentioned earlier, the cleaner you get your skull during the preparation, the less time you have to boil your skull. So, you can reduce this time frame to fit your needs. Fill the stock pot with water and submerge the skull of the deer. You will want to keep the antlers out of the water as much as possible. Some people wrap the base of the antlers with saranwrap and tin foil to discourage contact with the solution.
Dowel rods and 2 x 4s may help you keep the rack out of the water. In the past, I have also used a wire hanger, wrapping the wire around the base of the antlers to keep them out of the water. Water tends to darken the antlers, while peroxide will whiten the antlers. The whitening is not grossly obvious and most people will not notice the discoloration. However, if you look closely, you will be able to see a slight change in colored if you do not take precautions to keep the antlers out of the water. Once the skull is secured, and the top of the skull is covered with water, you are now ready to begin boiling the deer’s head.
Boiling Process
Bring the pot to a low boil and add the bottle of hydrogen peroxide. The peroxide aids in loosening the connective tissues through oxidation and will aid in whitening the skull. The oxidation process helps reduce the time needed to boil the skull as well. Be careful not to use too much heat as the nose bones are somewhat fragile, and can separate if the skull is boiled at a roaring boil for an extended period of time. For this reason, I boil at lower temperatures. Should the nose bones separate from the skull, they can easily be reattached with some superglue or Gorilla glue after the boiling process. You will find the boiling process is low maintenance; you should check on the pot often, and add water as needed but the amount of physical work required is minimal.
After seven hours of boiling, remove the deer skull from the water. At this point, if you grab the antlers and shake the skull, a large portion of the soft tissues and the bottom jaw will fall off the bones on their own. Scrape at the remaining soft tissues with a soft bristled brush. Be sure to remove the brain from the cranium as well. Return the head to the water to finish boiling.
Finishing Touches
Once the tissues have been boiled off the head, and it appears clean, you are almost finished. Remove the skull from the heat. Dump out the existing water, and fill the pot with clean water. Add some liquid soap to the clean water, place the skull back in the water and agitate the skull in the soapy water. The soap will aid in degreasing the skull and removing any fat and lipid film left on the bones. Your skull is now finished and ready to be displayed.
Conclusion
A European mount can be a great way to preserve a hunting memory. With a little bit of time, and a little effort, you can get your trophy ready to be displayed in your home.
by Jessica Graham
April 2020
Check Out This Article about Getting your Firearms ready for Deer Season –